Penrose impossible triangle
The quick and foolproof way to build it with a grid in Illustrator

Fascinated by Penrose impossible triangle for a long time, I was rarely satisfied with its construction. But now I've found a quick and unstoppable way to get it right building its grid in Illustrator.
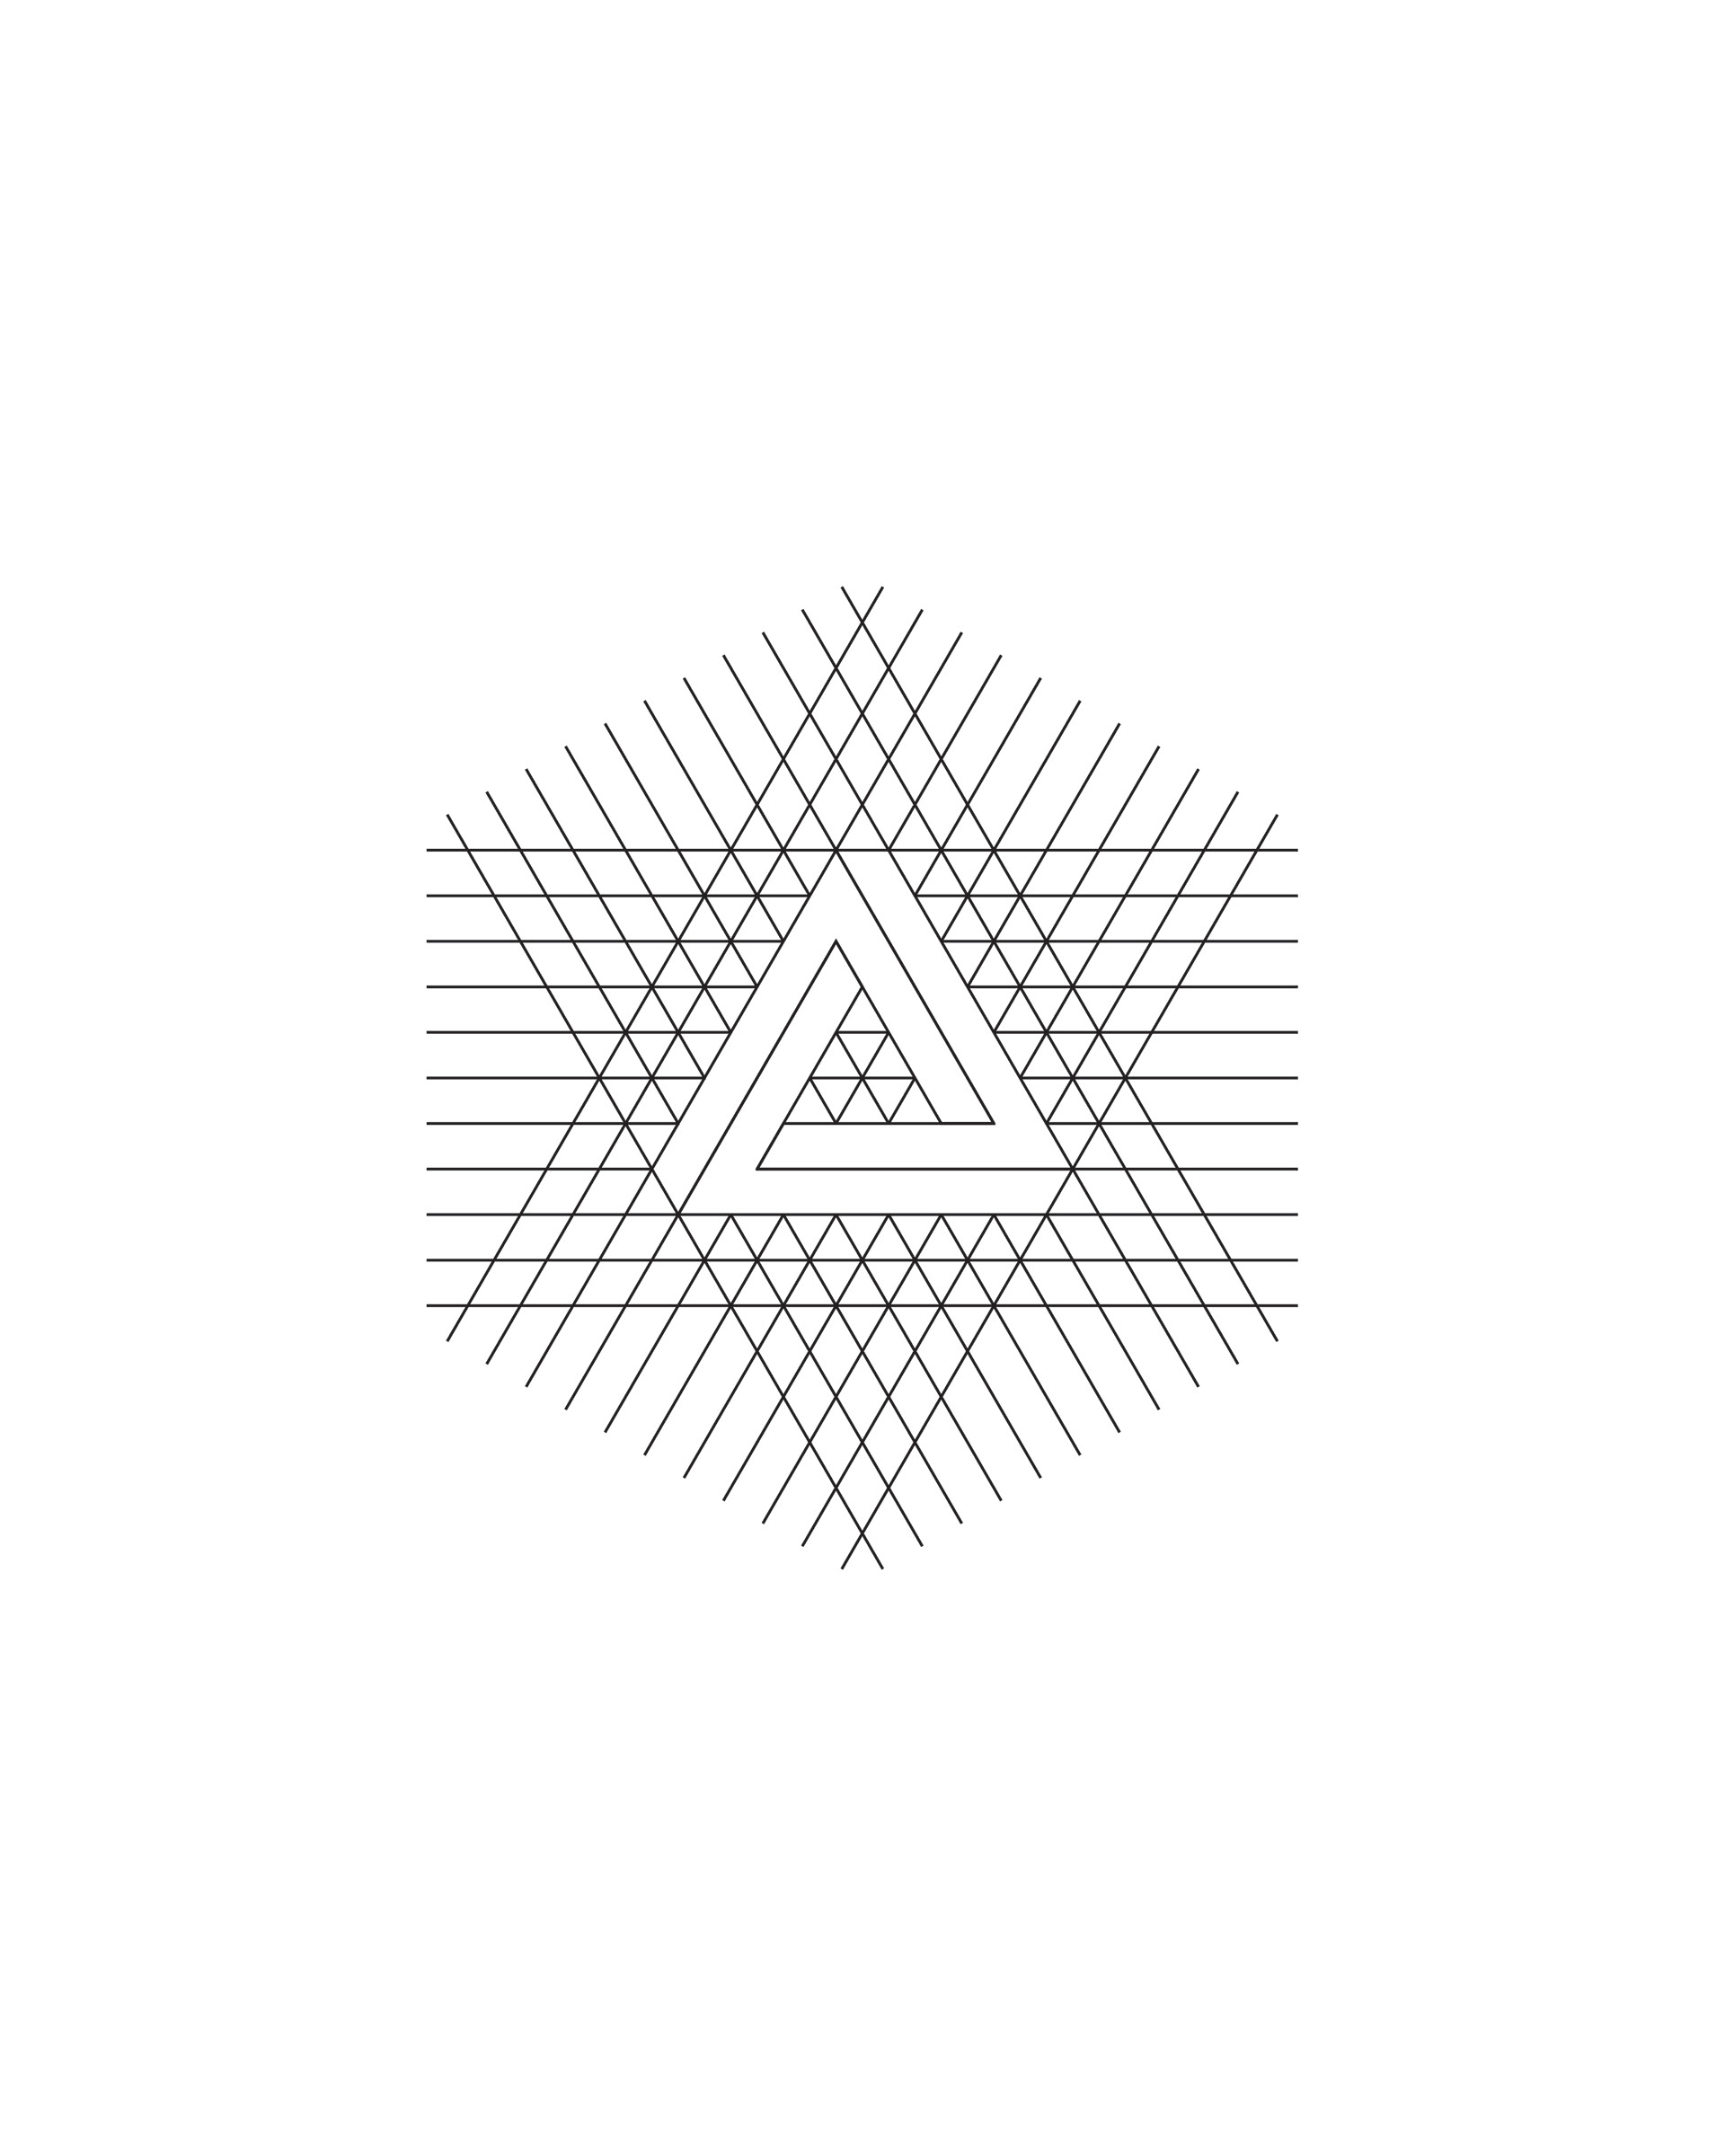
To start with, let's look at a Penrose triangle. It looks like a strange equilateral triangle. That means it has 3 axes of symmetry. Let's use the sides of the triangle and organise them around the center of a circle.
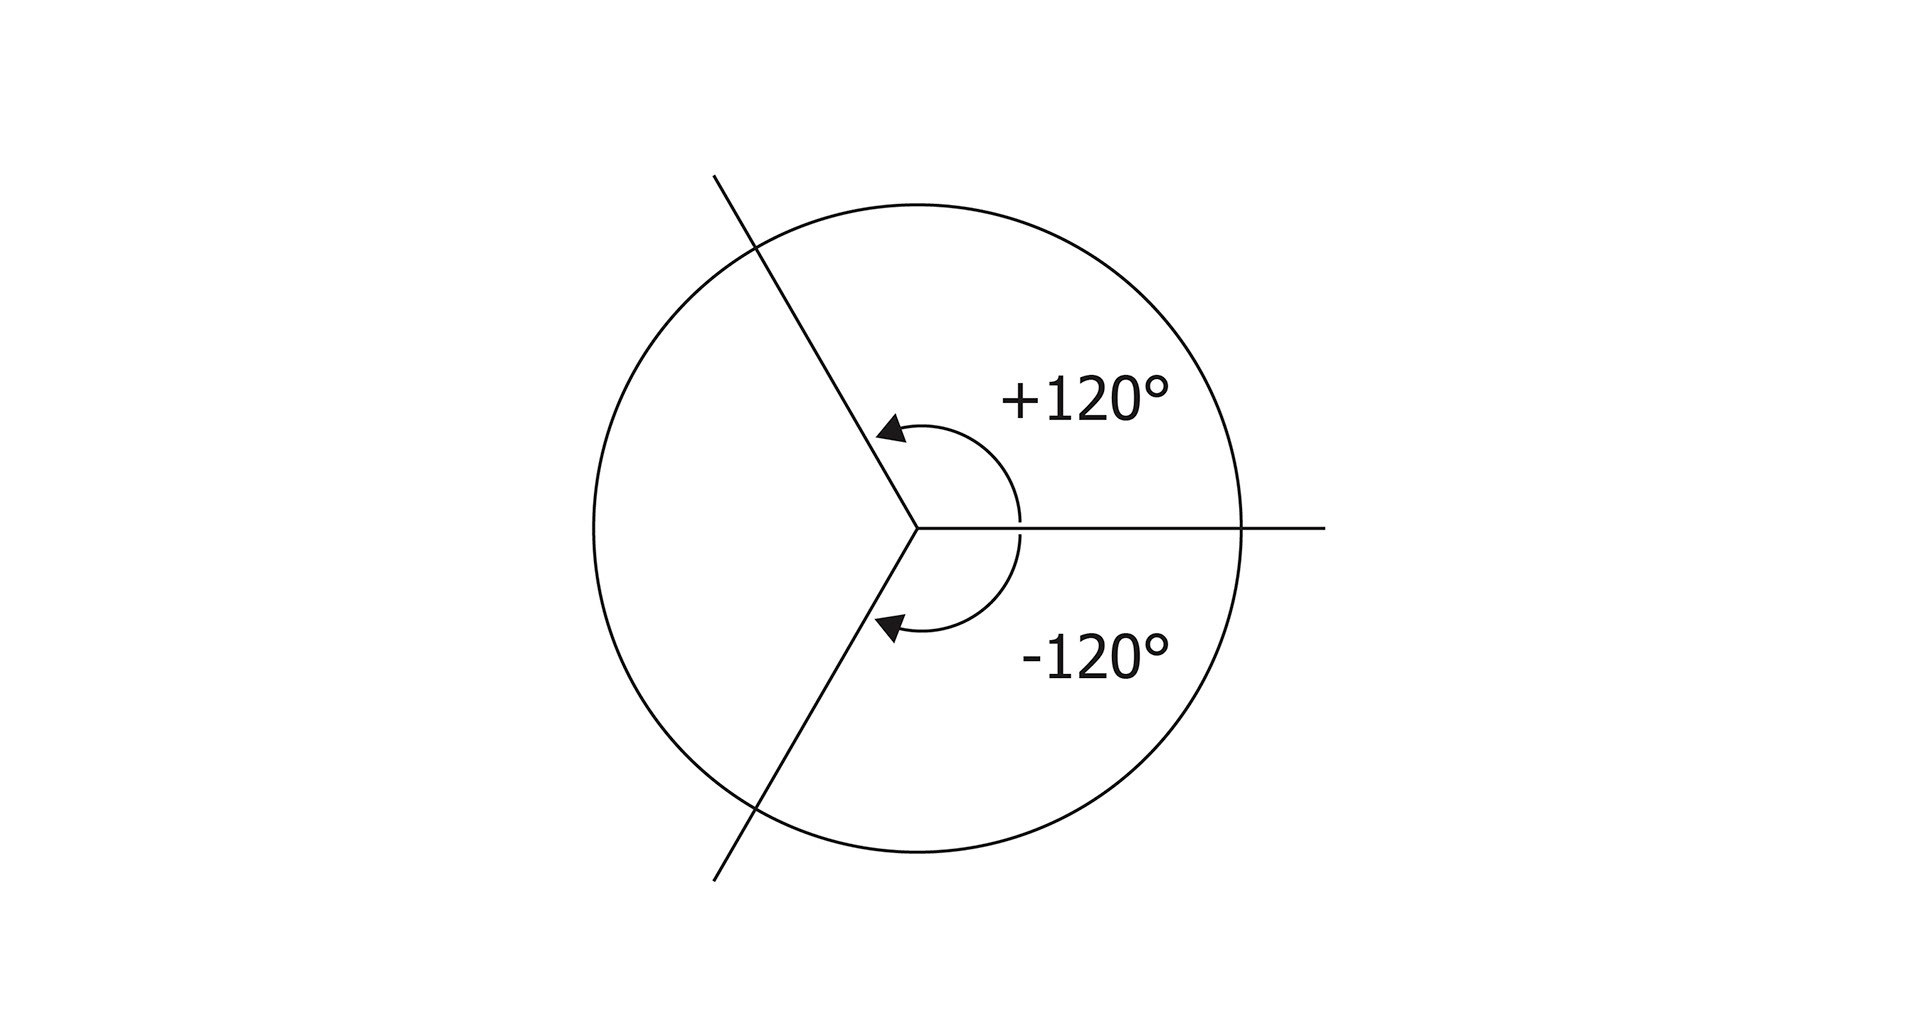
We'll use those 3 directions to construct the grid, as they correspond to the axes we'll used for its dimension.
To build the grid, we'll create a group of horizontal lines that we'll copy it twice. The first group will not be rotated, the second group will be rotated by +120° and the third group will be rotated by - 120°.
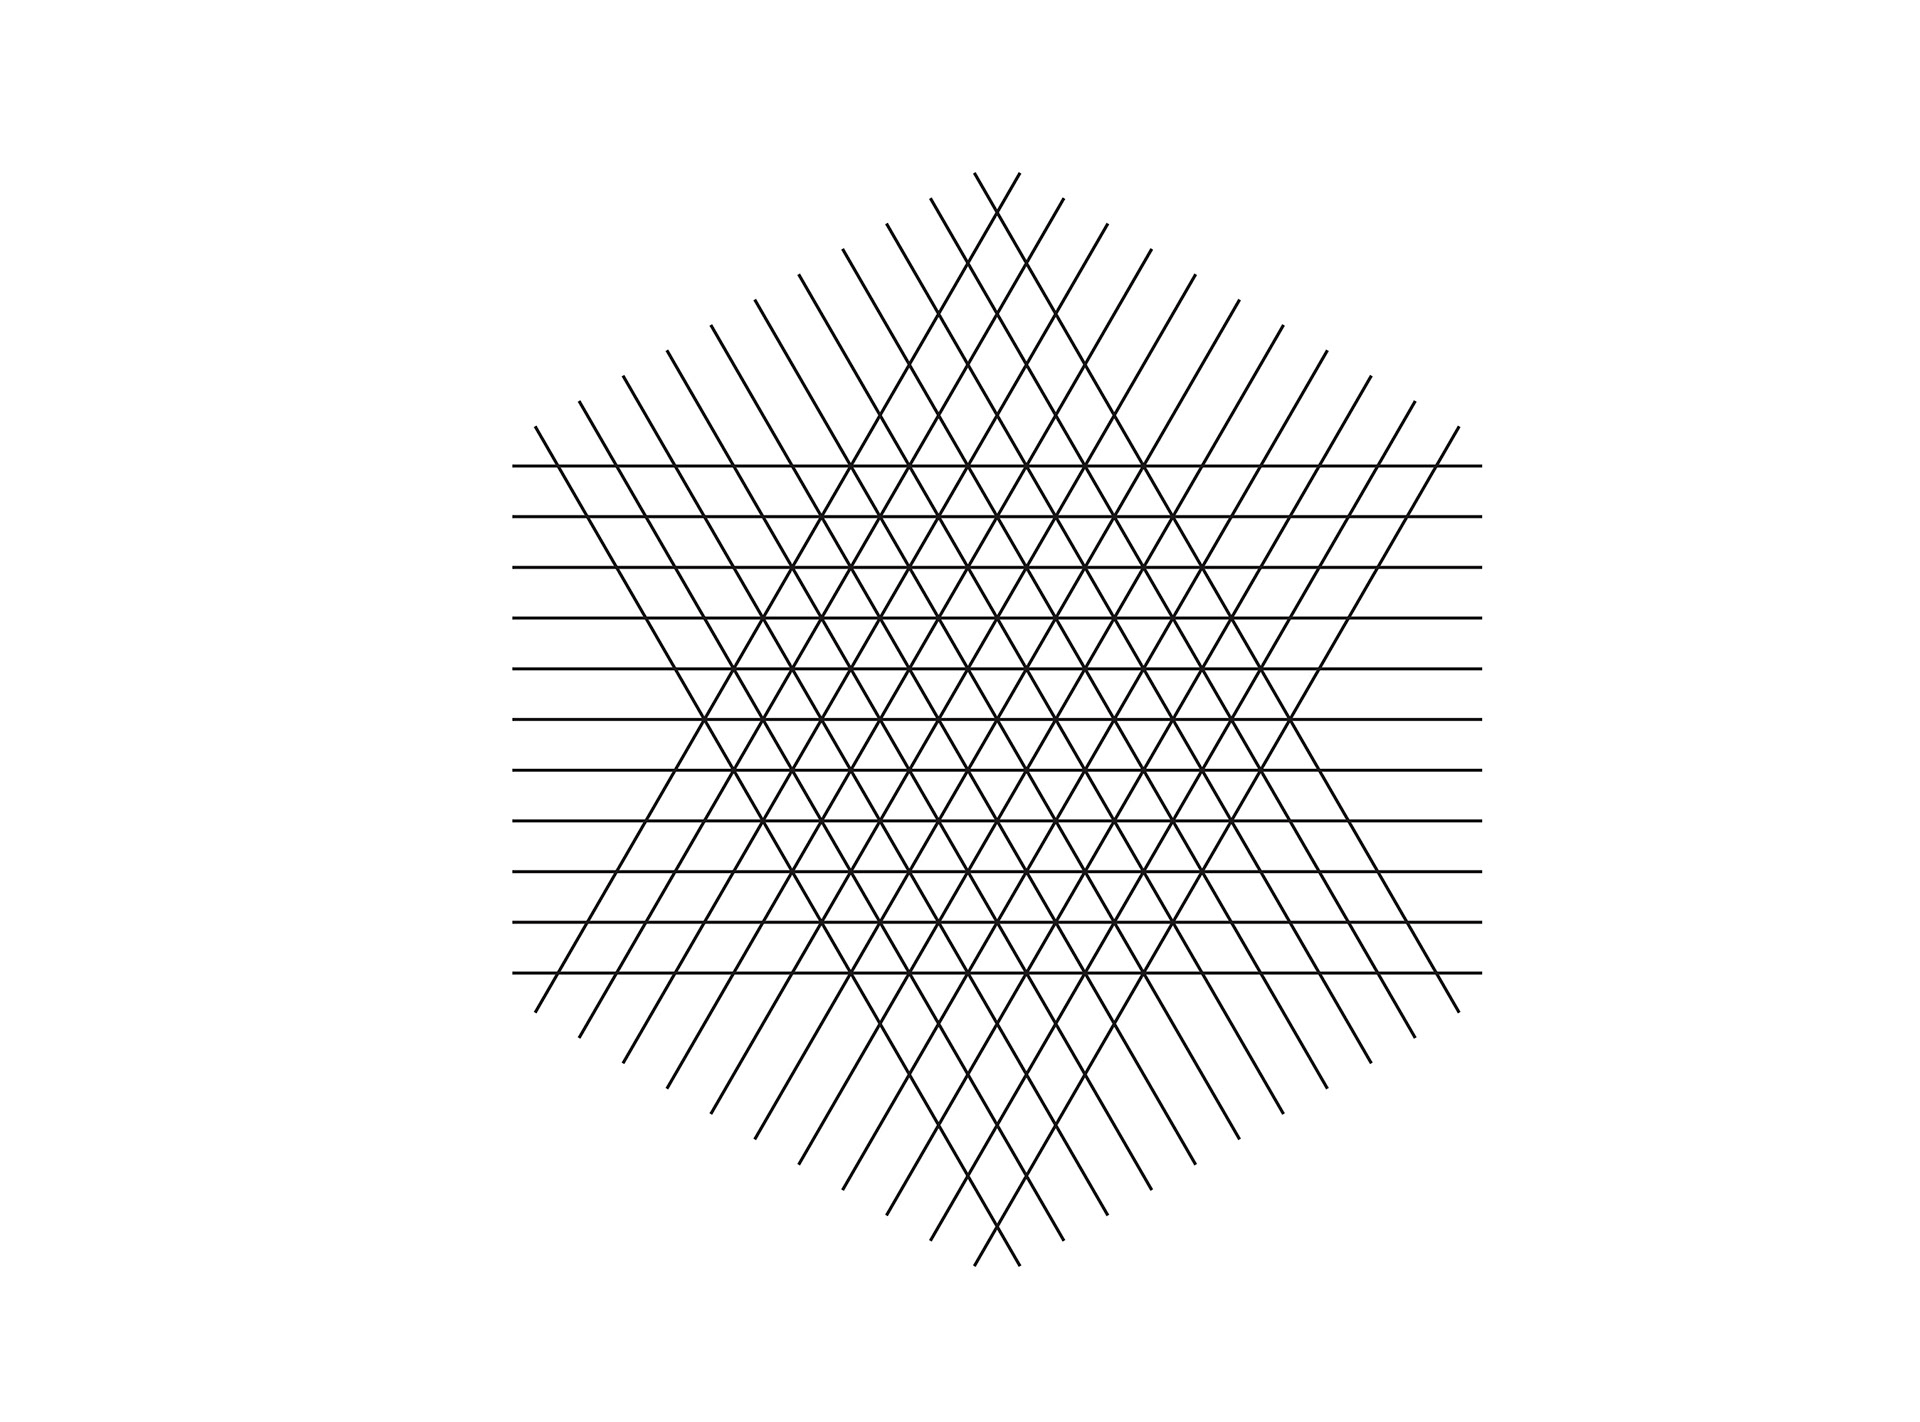
1- Create an odd number of horizontal lines, you need at least 9 lines. I've created 11 lines using the Blend tool that I expanded.

2- Copy and paste in place twice. With the Rotate tool, apply a +120° rotation to one copy and a -120° rotation to the other.
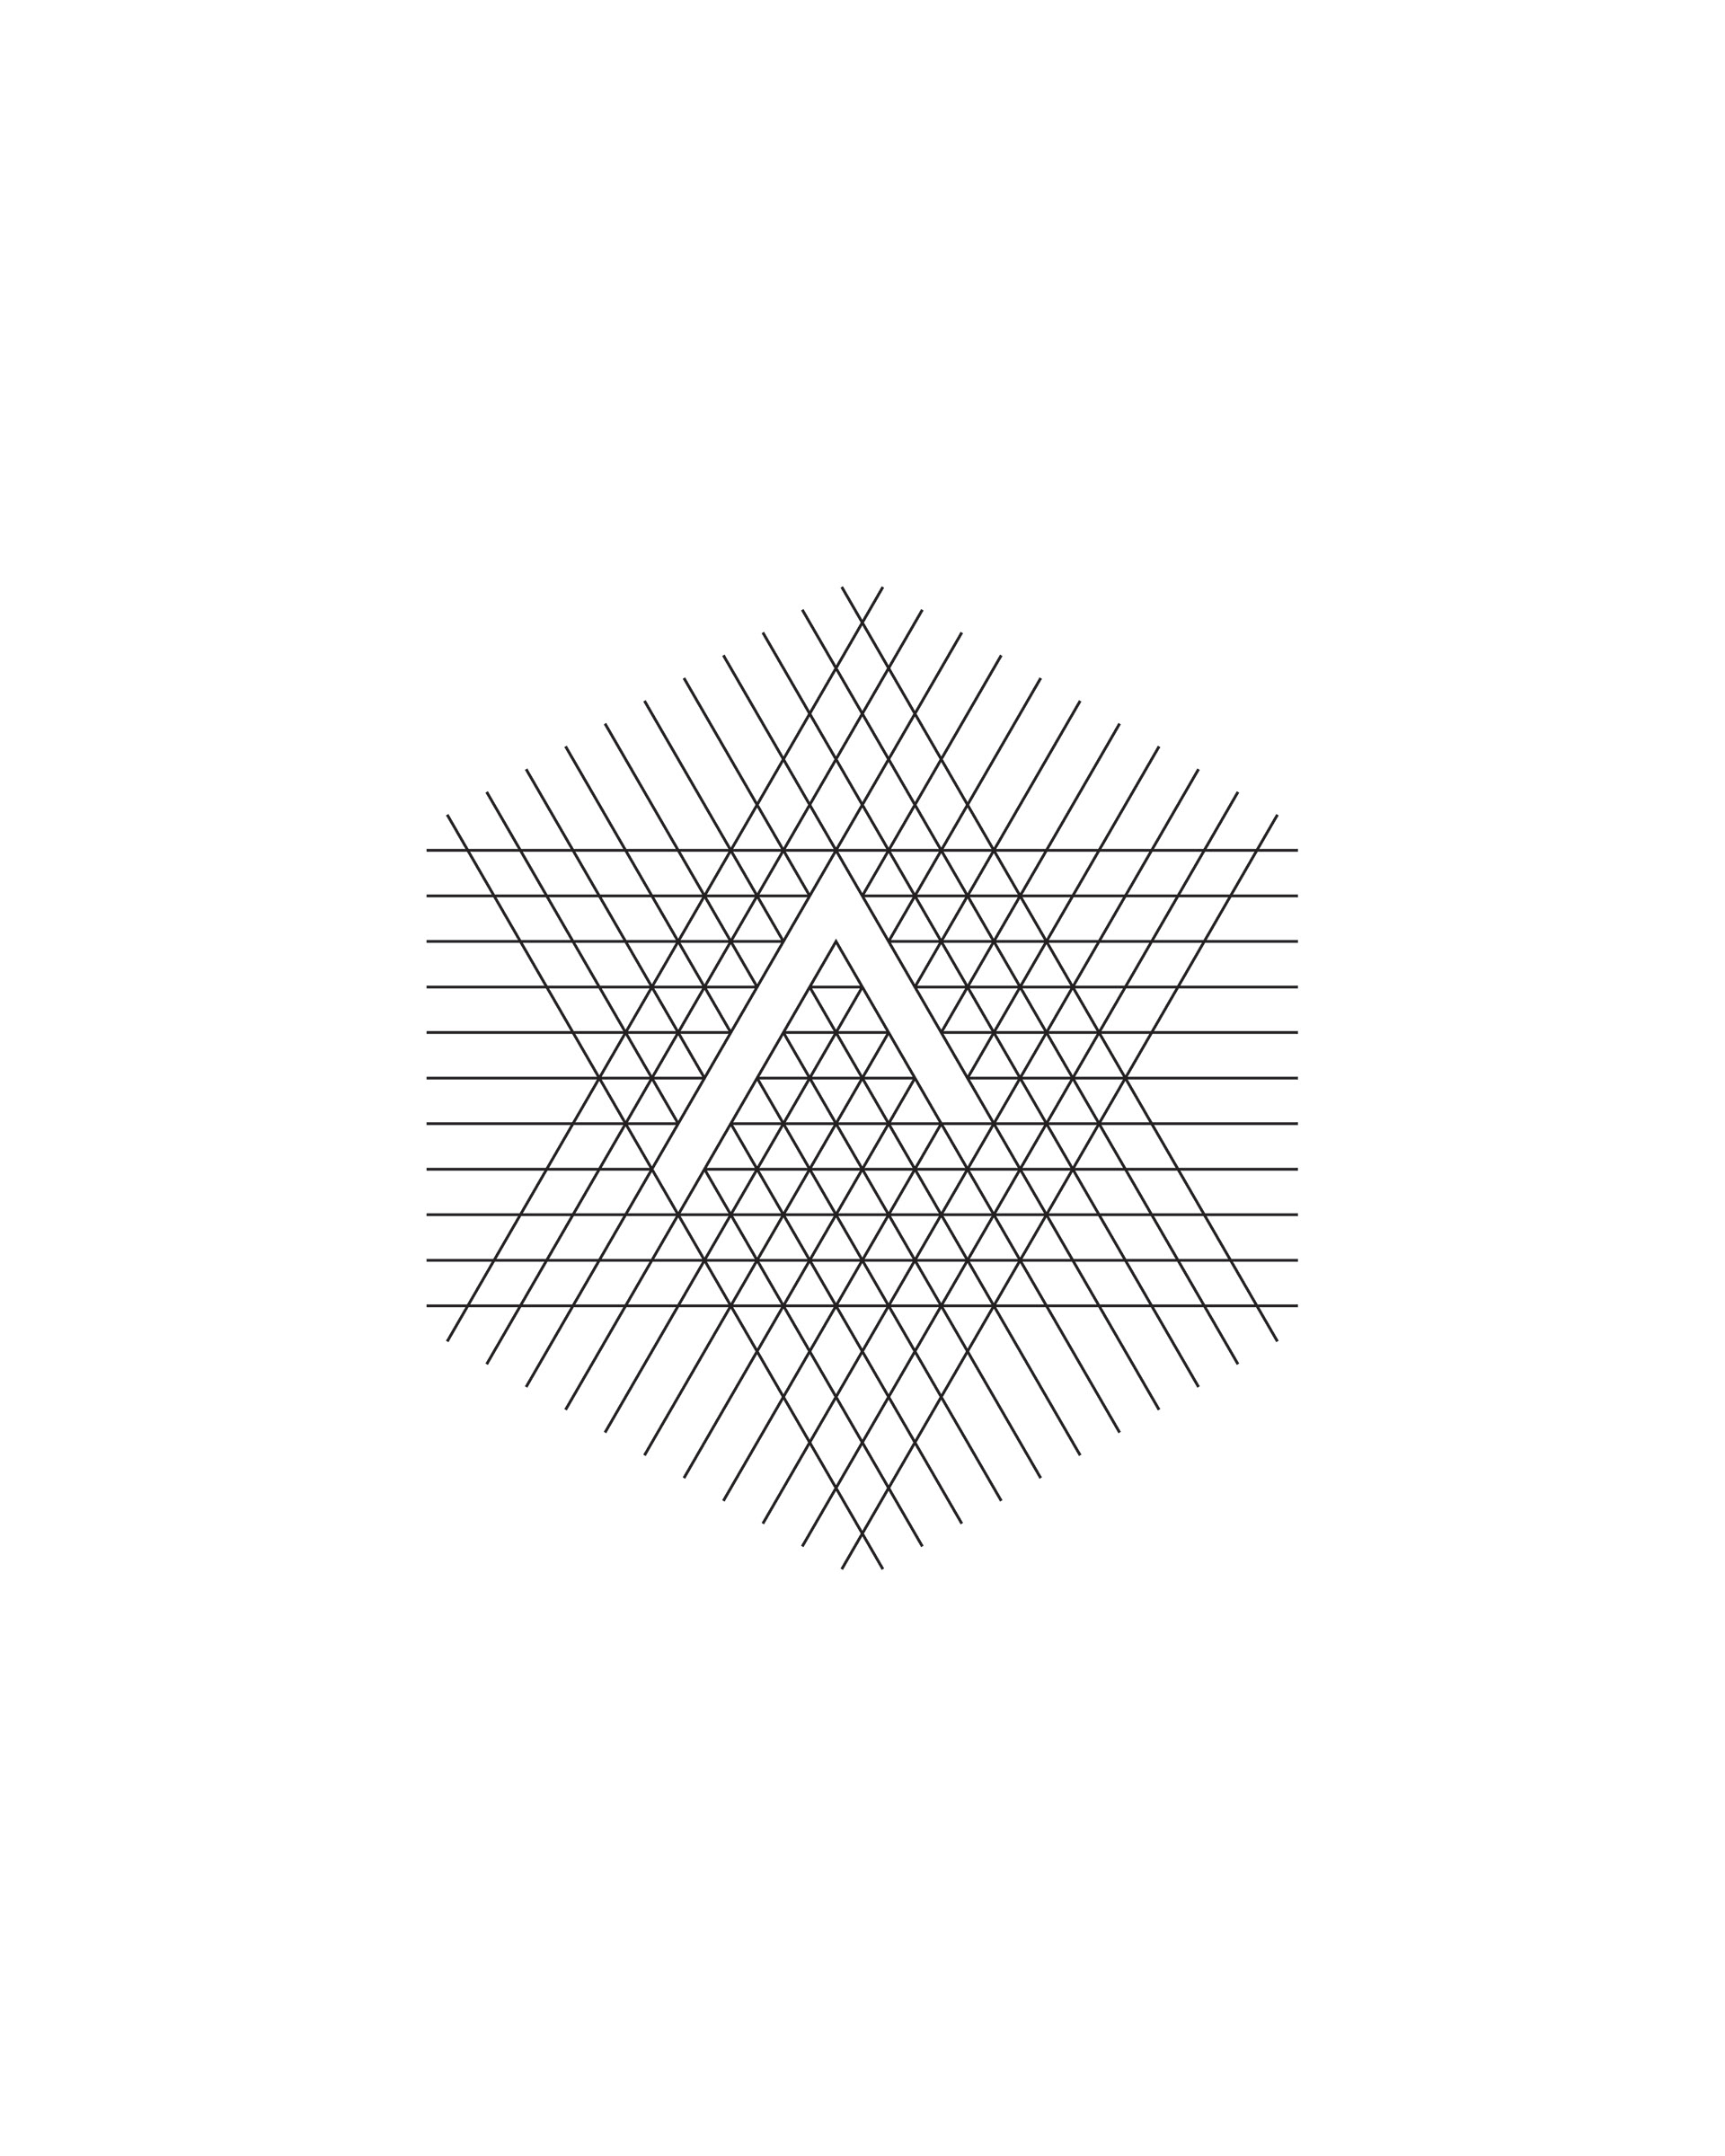
3- Use the Shape builder to create the 3 parts of the triangle and fill them with colours.
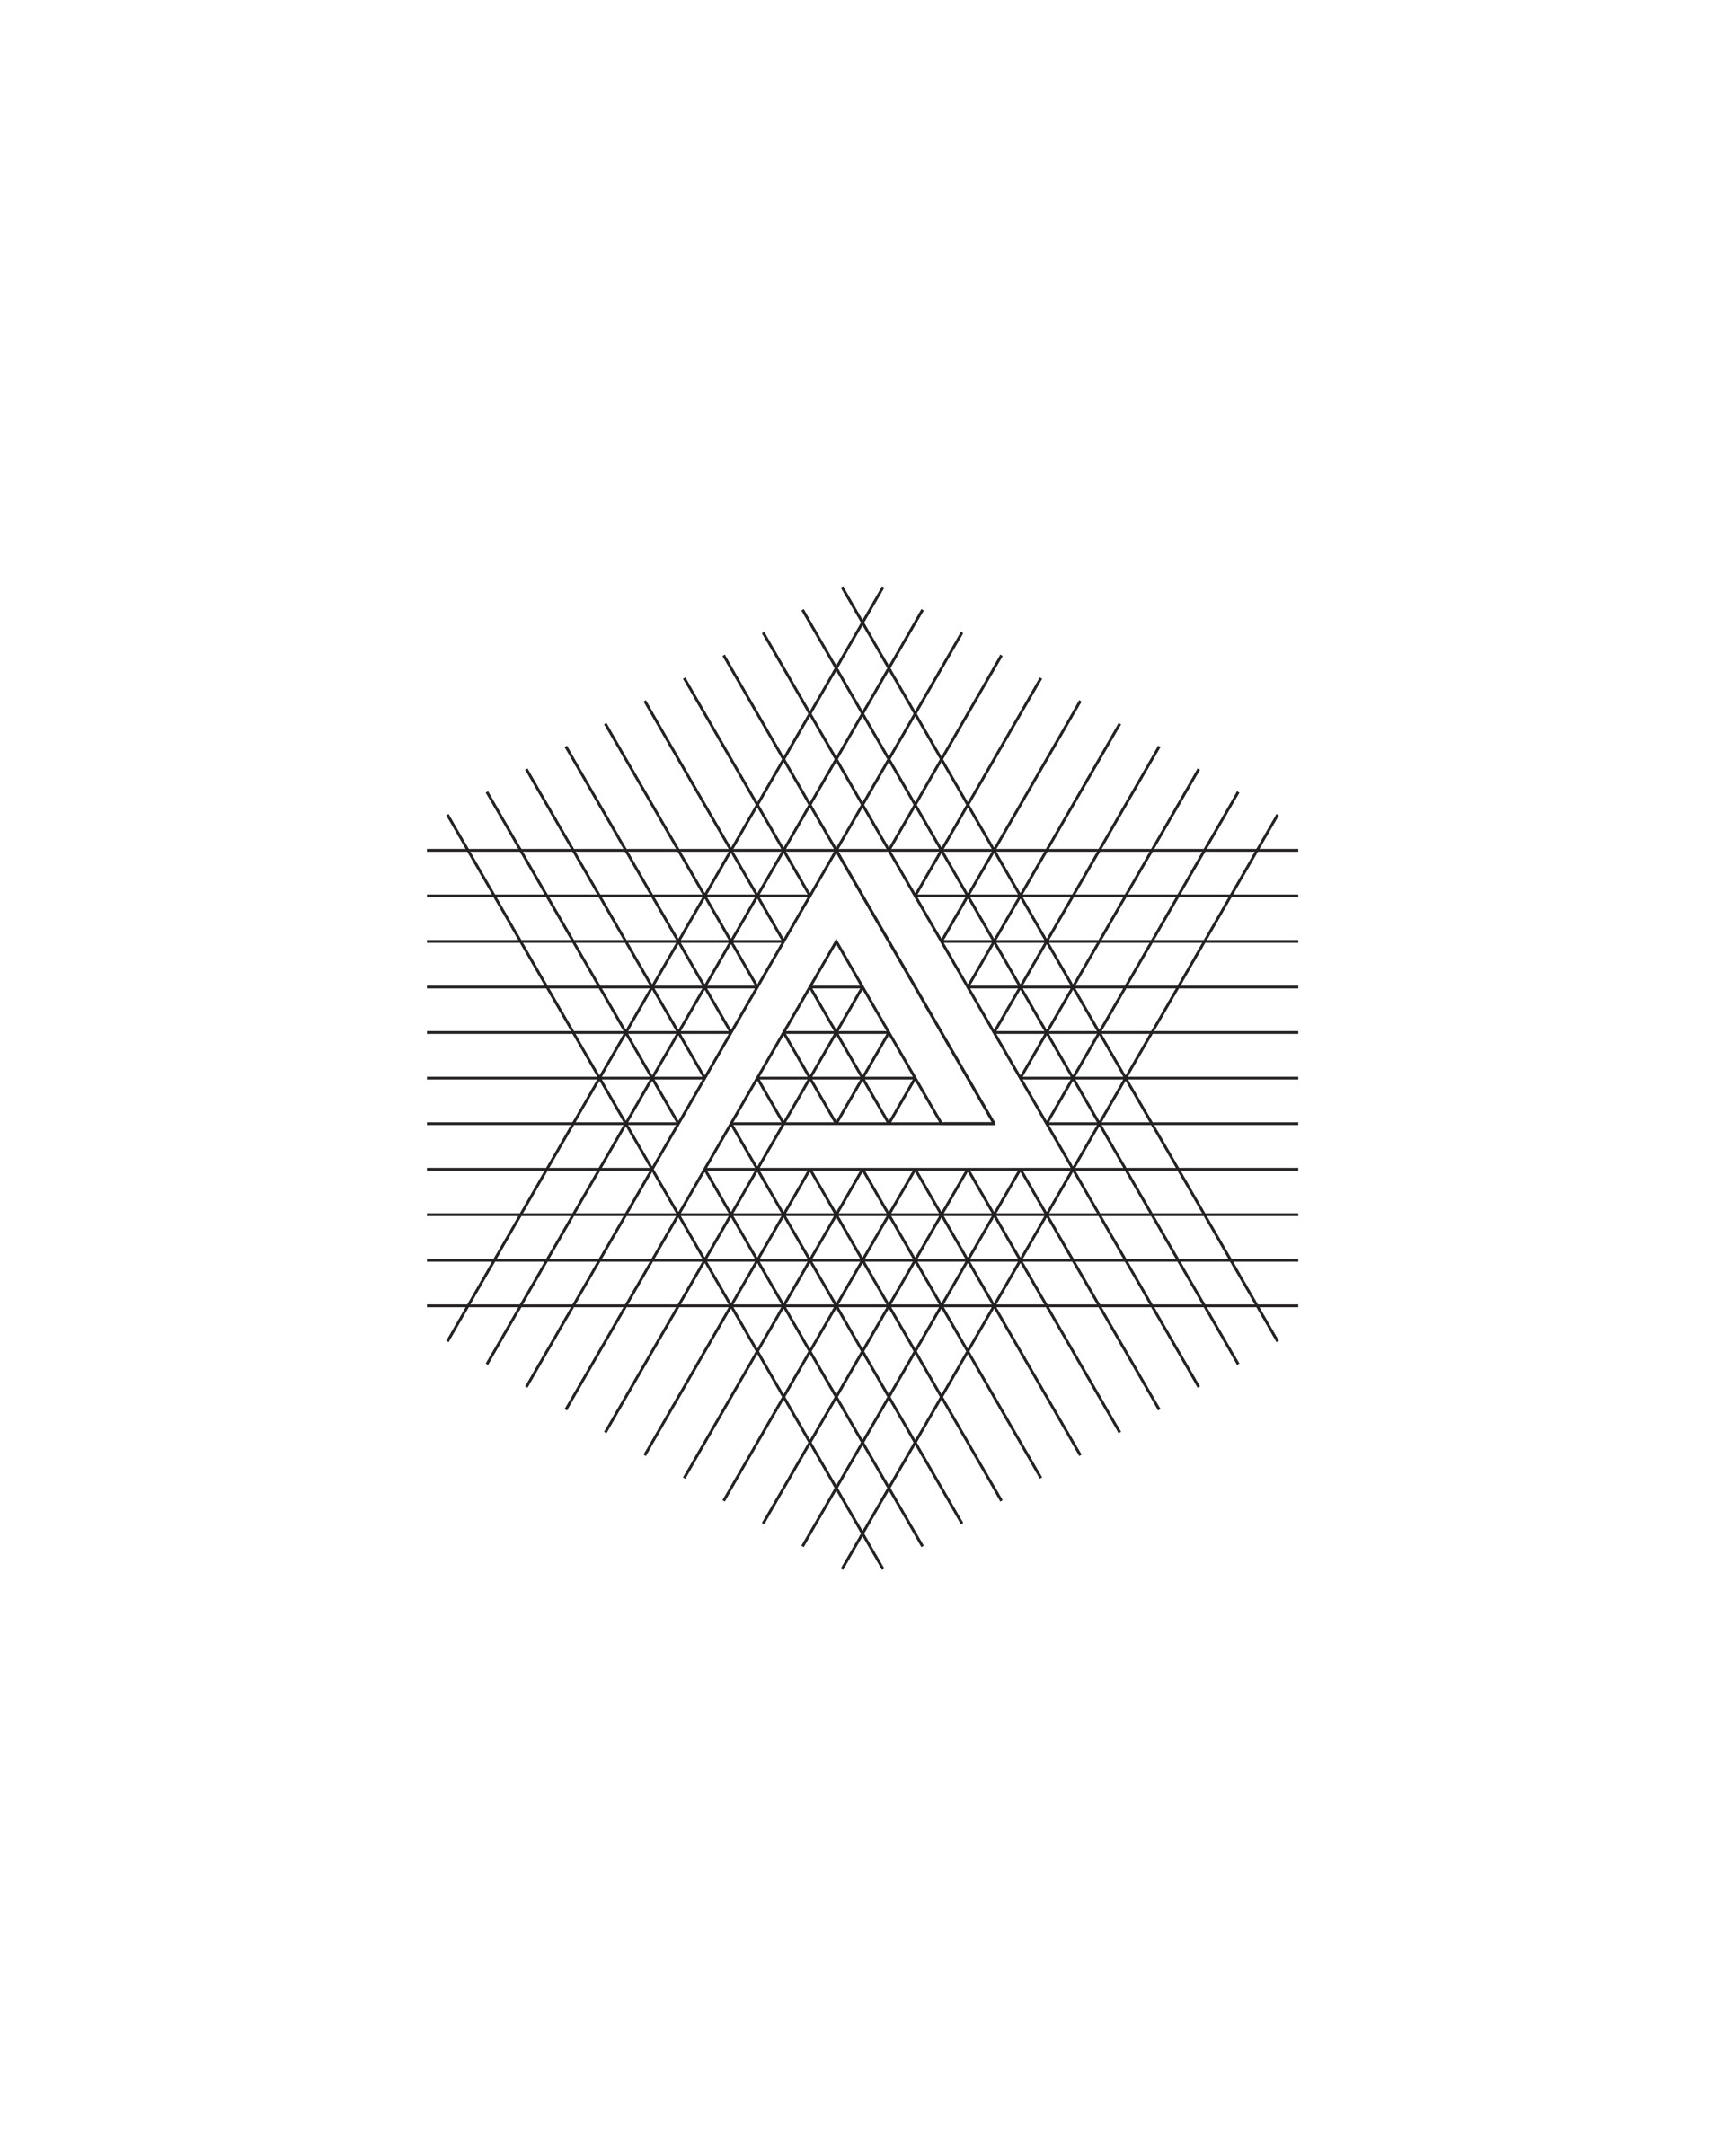
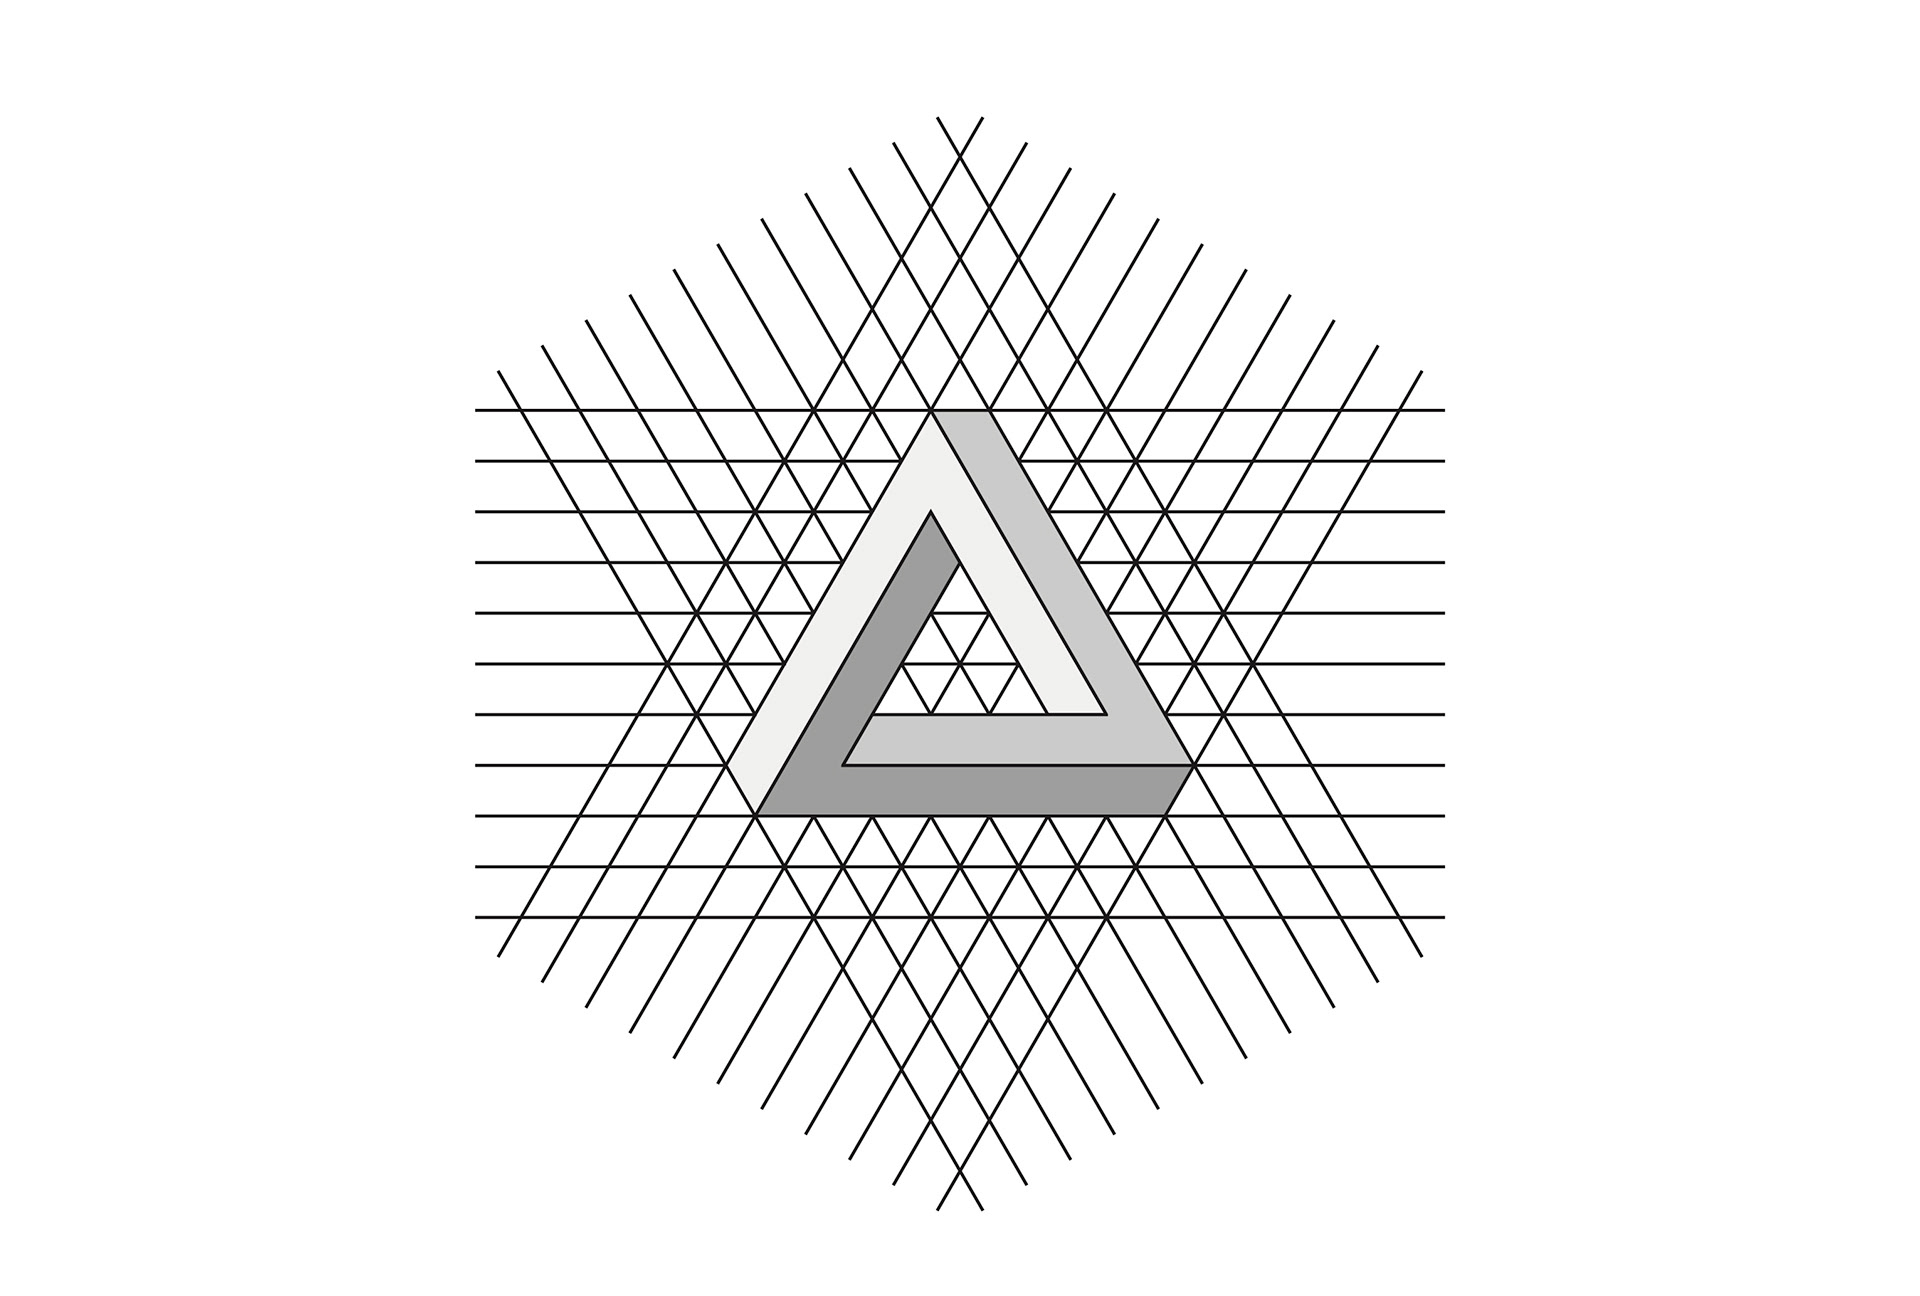
4- Use the freeform gradient tool to add some light and shadow interest.

5- Use Photoshop to create your final artwork.

Thanks for watching!